Christmas Stocking Tutorial
View more tutorials on Fabricworm.com
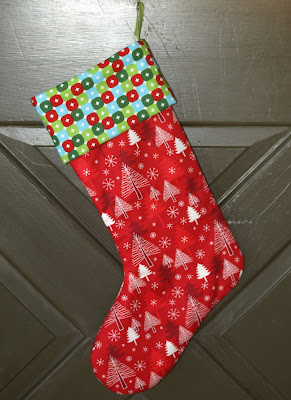
Here is a fast and easy stocking pattern, just in time for the holidays. It is a great way to make a really special gift with some of the fun holiday fabrics available now.
View on our website Fabricworm.com - Click Here!
Materials
1/2 yd Robert Kaufman Holiday Trees Celebration (exterior)
1/4 yd Caleb Gray Mod Squares Holiday (cuff)
1/2 yd Robert Kaufman Kona Cotton Solids Snow (lining)
20" x 30" piece of Warm and Natural batting
6 " ribbon for hanging loop
Coordinating thread
INSTRUCTIONS
Print out the stocking pattern. For the exterior body pieces, lay the fabric wrong side up and fold one side over 13 inches. Lay the pattern piece on top. Cut out the pattern with your rotary cutter or trace and cut out with scissors. Repeat for the batting and lining.
If you'd like to print out the tutorial instructions, one of our fellow Fabricworms has generously taken the time to create a PDF to follow along with. Thanks so much, Miriam!
 To assemble the body of the stocking, put the two exterior body pieces right sides together. Gently smooth the batting to the wrong sides of the exterior fabric. The batting clings to the fabric, which makes things easier for keeping the pieces together. As you can see in the picture below, you will have a layer of batting, two layers of fabric (right sides together) and then another layer of batting. Pin in place. Sew the four layers together with a 1/2" seam allowance.
 Trim the batting from the seam allowance at the top of the stocking and along the toe and ankle to help reduce bulk. Turn right side out and press. Looking pretty cute already!
 Sew the lining pieces together. Do not turn the lining right side out. Leave it just the way you sewed it. Place lining inside body of the stocking.
 To make the cuff, cut out a rectangle 16" x 9" of the cuff fabric and cut a piece of batting
16" x 4 1/2". Place batting along one edge of the wrong side of the cuff fabric.

Fold the fabric and batting in half. Sew up the short side with 1/2" seam allowance. Trim the batting in the seam allowance to reduce bulk. Press seams open.
 Fold cuff over so the batting is covered. Mark center of raw edge of the cuff opposite from the seam with a pen or by making a small notch in the fabric.
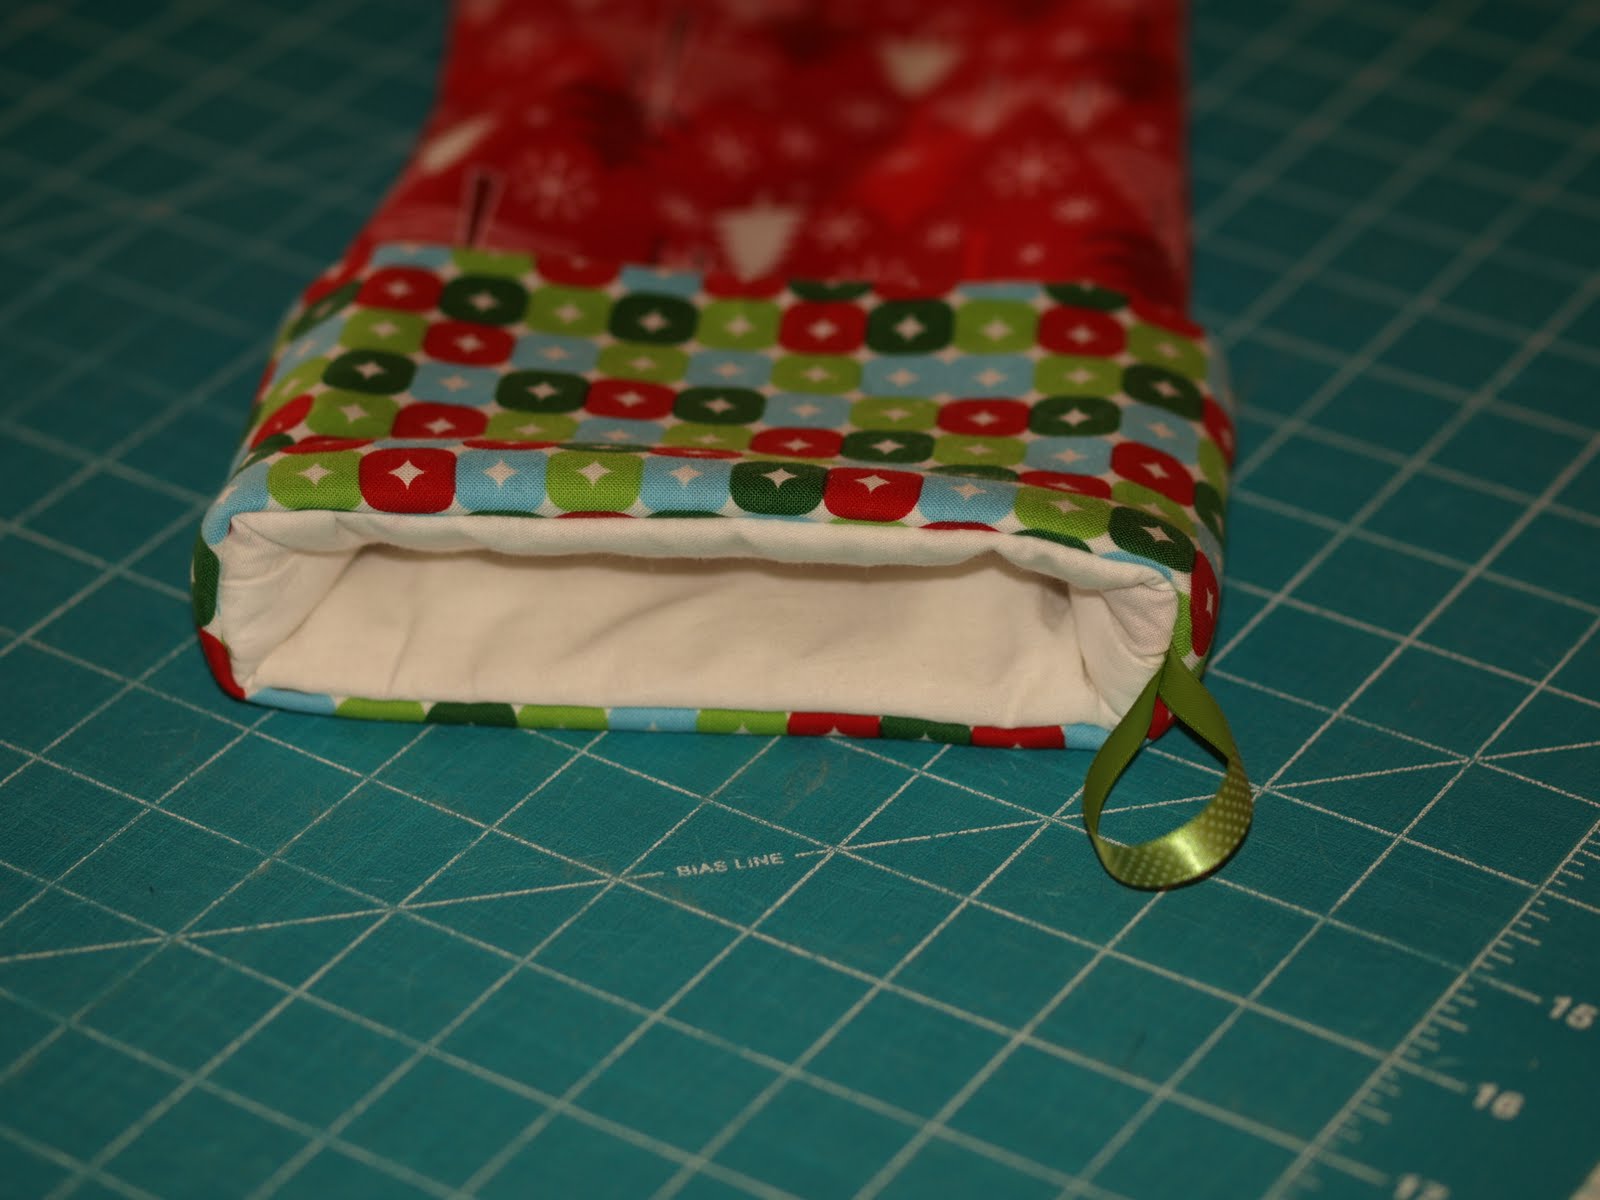
 Place the cuff inside the body of the stocking, aligning the raw edges of cuff with the raw edges of the body. Match the cuff seam with the back body seam and the front seam with the mark you made on the cuff. If the cuff is a little wider than the top of the stocking, simply increase the seam allowance on the cuff to make it the same width as the top of the stocking.
Cut a 6" piece of ribbon and fold in half. Place the ribbon between the lining and the cuff along the back body seam of the stocking. Align the raw edges of the ribbon and the body. The loop of the ribbon should be facing into the body of the stocking.
If the pattern on the cuff is one way, double check to make sure that the pattern will be facing the right direction once it is sewn on and flipped over.
Sew cuff on with 1/2" seam allowance.

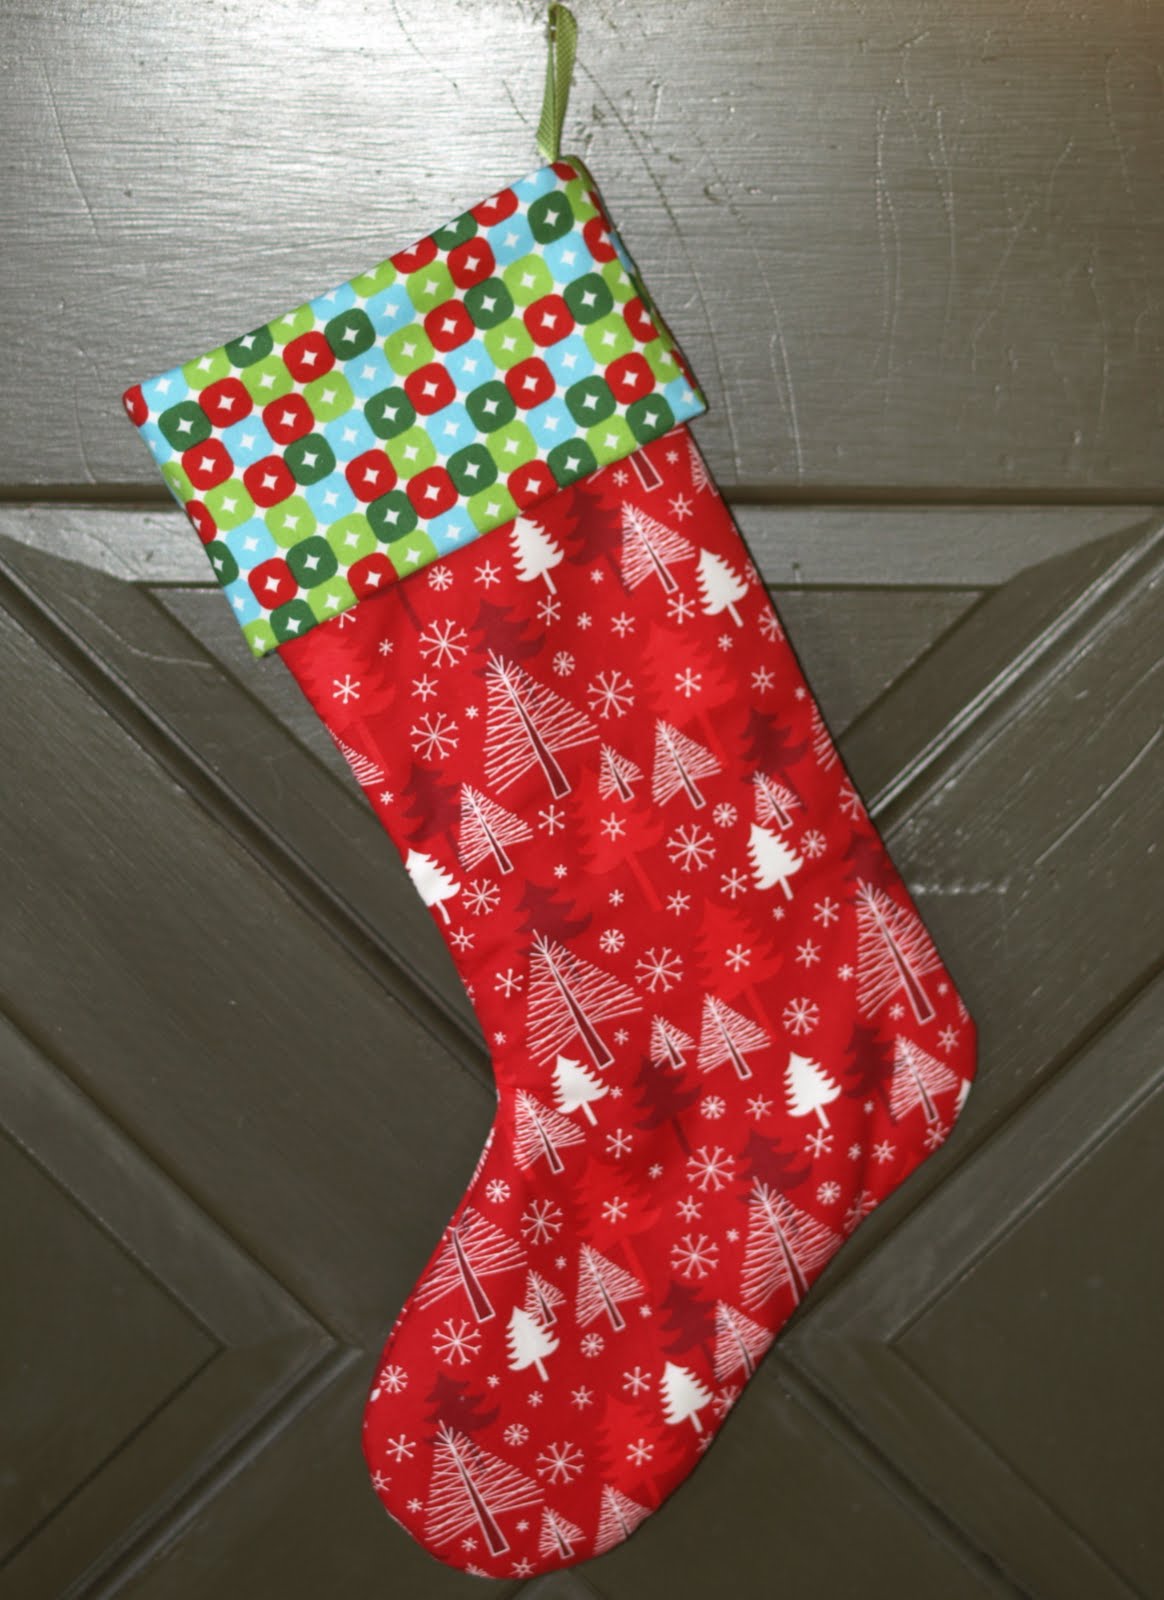
Fold cuff over and you are all done!

And another example for good measure!
 Enjoy and Happy Holidays!
The Fabricworm Team
Materials
1/2 yd Robert Kaufman Holiday Trees Celebration (exterior)1/4 yd Caleb Gray Mod Squares Holiday (cuff)
1/2 yd Robert Kaufman Kona Cotton Solids Snow (lining)
20" x 30" piece of Warm and Natural batting
6 " ribbon for hanging loop
Coordinating thread
INSTRUCTIONS
Print out the stocking pattern. For the exterior body pieces, lay the fabric wrong side up and fold one side over 13 inches. Lay the pattern piece on top. Cut out the pattern with your rotary cutter or trace and cut out with scissors. Repeat for the batting and lining.
If you'd like to print out the tutorial instructions, one of our fellow Fabricworms has generously taken the time to create a PDF to follow along with. Thanks so much, Miriam!
 To assemble the body of the stocking, put the two exterior body pieces right sides together. Gently smooth the batting to the wrong sides of the exterior fabric. The batting clings to the fabric, which makes things easier for keeping the pieces together. As you can see in the picture below, you will have a layer of batting, two layers of fabric (right sides together) and then another layer of batting. Pin in place. Sew the four layers together with a 1/2" seam allowance.
 Trim the batting from the seam allowance at the top of the stocking and along the toe and ankle to help reduce bulk. Turn right side out and press. Looking pretty cute already!
 Sew the lining pieces together. Do not turn the lining right side out. Leave it just the way you sewed it. Place lining inside body of the stocking.
 To make the cuff, cut out a rectangle 16" x 9" of the cuff fabric and cut a piece of batting
16" x 4 1/2". Place batting along one edge of the wrong side of the cuff fabric.

Fold the fabric and batting in half. Sew up the short side with 1/2" seam allowance. Trim the batting in the seam allowance to reduce bulk. Press seams open.
 Fold cuff over so the batting is covered. Mark center of raw edge of the cuff opposite from the seam with a pen or by making a small notch in the fabric.
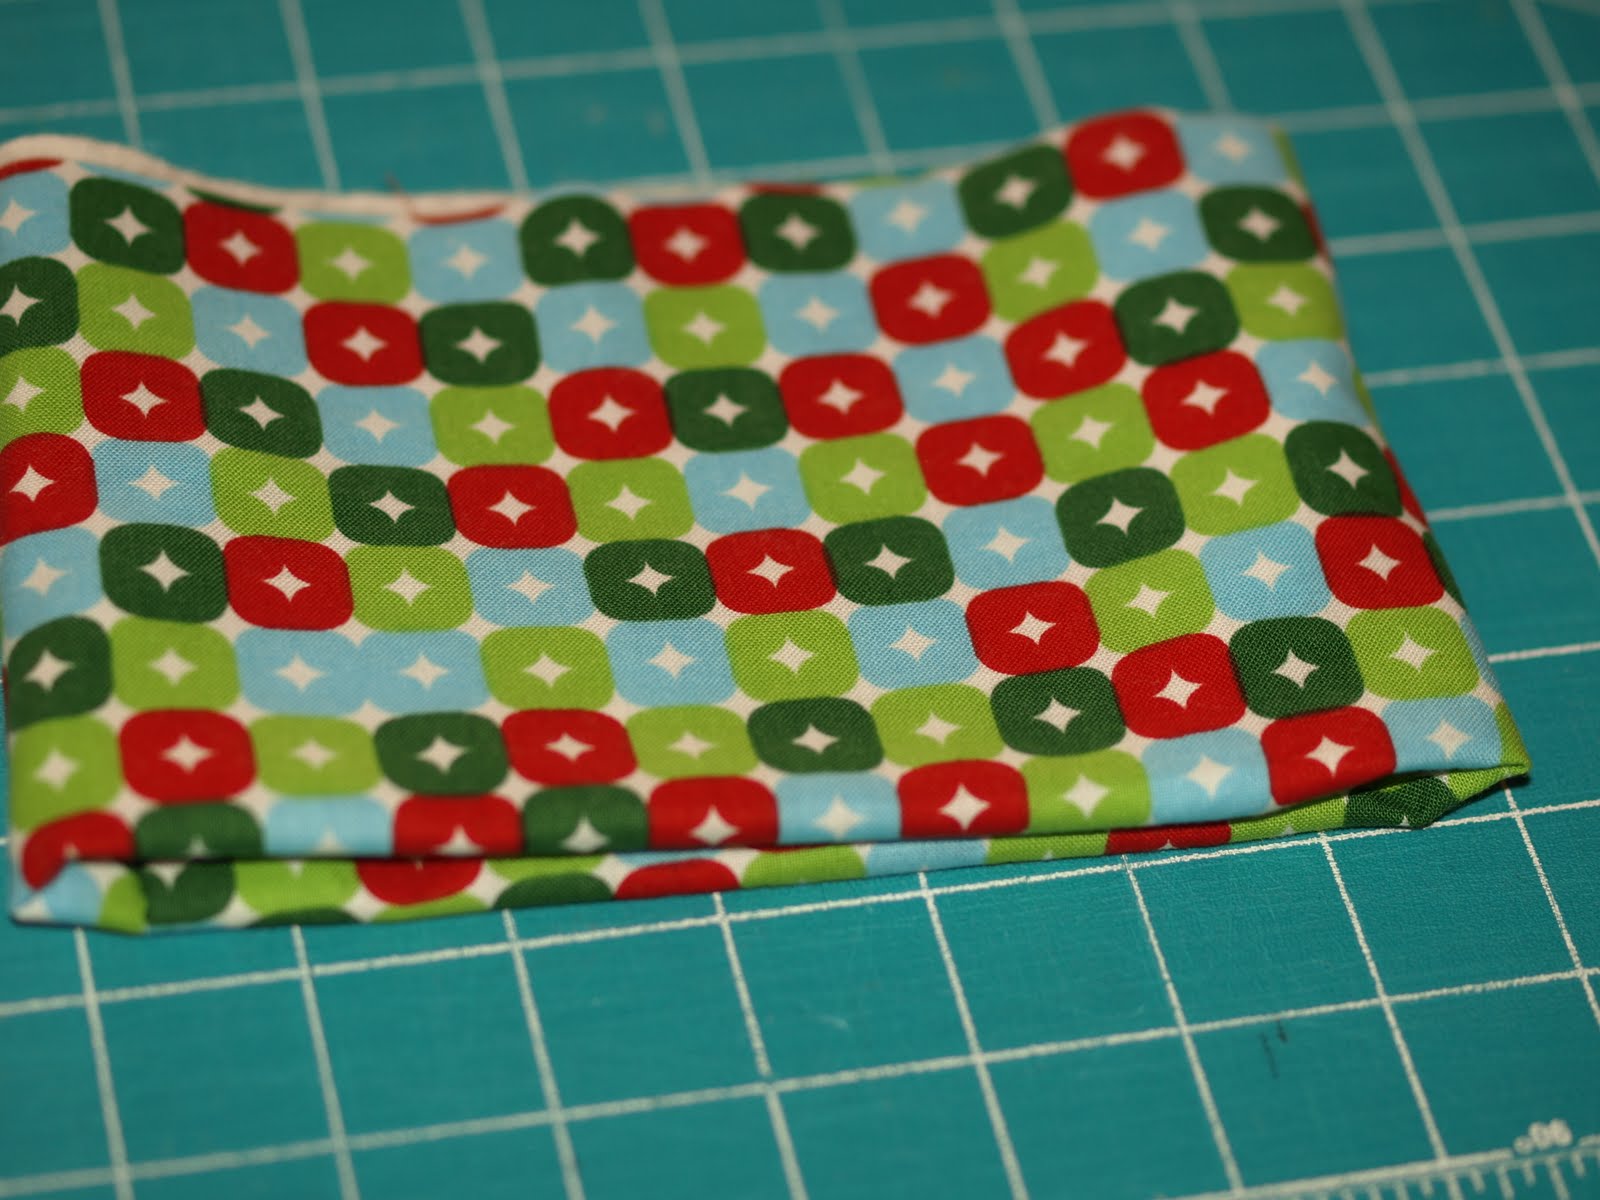 Place the cuff inside the body of the stocking, aligning the raw edges of cuff with the raw edges of the body. Match the cuff seam with the back body seam and the front seam with the mark you made on the cuff. If the cuff is a little wider than the top of the stocking, simply increase the seam allowance on the cuff to make it the same width as the top of the stocking.
Cut a 6" piece of ribbon and fold in half. Place the ribbon between the lining and the cuff along the back body seam of the stocking. Align the raw edges of the ribbon and the body. The loop of the ribbon should be facing into the body of the stocking.
If the pattern on the cuff is one way, double check to make sure that the pattern will be facing the right direction once it is sewn on and flipped over.
Sew cuff on with 1/2" seam allowance.

Fold cuff over and you are all done!
And another example for good measure!

The Fabricworm Team
Comments
SewCalGal
www.sewcalgal.blogspot.com
Here's how mine turned out:
http://www.abrightcorner.com/2011/01/christmas-stockings.html
"If the cuff is a little wider than the top of the stocking, simply increase the seam allowance on the cuff to make it the same width as the top of the stocking."
Do you mean take the cuff back out of the stocking and resew it, making a bigger seam allowance?
The cuff is at least an inch wider than the stocking. Trying to figure out how to fix it.
Thanks so much!
(I also saw a tutorial here that looks quite similar to yours...
http://amberpless.blogspot.com/2011/11/homemade-stockings.html)
Alida
My only comment would be - I think I'd make the cuff a little shorter than 16". Mine had a little too much fabric; it worked out ok, but I think I'd make them a tiny bit smaller next time.
www.ouruscglife.blog
Cheers.
Here is a look at mine:
http://liketosew.blogspot.com/2012/12/holiday-stockings.html
http://mybusycraftlife.blogspot.com/2012/12/christmassing-new-stockings-and-apron.html
Thanks! Laura
I made this with fabric I had lying around the house. Thanks so much for the tute and the pattern. I've been asked to make more!
http://sewcrooked.blogspot.co.uk/2013/10/xmas-stockings.html
Tanks for the tutorial.
Can't wait for christmas!
Gary Puntman | http://www.snugglesoflove.com/holiday-boutique/christmas-and-winter/christmas-stockings/
An email newsletter is a newsletter we find on the internet where the readers can get to read news on the internet, just as one may read ordinary newspapers. Various online newsletters available cover many topics. We can get stories on health, technology, sports, general stories, articles, and even any alerts sounded by the people/government to read on the online newsletter.
Newsletter Design
Nice post...I look forward to reading more, and getting a more active part in the talks here, whilst picking up some knowledge as well..
Scarves Manufacturer in Delhi
christmas fabric sale
nice blog
http://www.officechairwala.in/blog/Office+Chair+Manufacturer+in+Delhi.html
gclub
gclub casino online
จีคลับ
Christmas Facebook Cover Photos , Christmas WhatsApp Status
Valentines Day Images 2018
Valentines Day 2018 Images
Valentines Day Images For Lovers
Valentines Day Gif
Valentines Day Advance Images
Valentines Day Gift Ideas For Her
Happy Valentines Day Funny Images
Rose Day Images For Boyfriend
4th of july
www.pec.edu.pk 8th class Sahiwal
thank you so much for the information
sbobet.fyi
sbobet fyi
ทางเข้า sbobet
sbobet
sbothai
sbobet asia
that's why it's called the present!.
Thanks for sharing such a great information with us. Your Post is very unique and all information is reliable for new readers.
Keep it up in future, thanks for sharing such a useful post.
Happy New Year 2019
Happy New Year 2019 Images
Happy New Year 2019 Deals
Happy New Year 2019 Gifts
Happy New Year 2019 Wallpapers
Happy New Year 2019 Wishes"
Tailor Master Required | Tailor App
Pec 5 Class result online check.
Bise Lahore 8th Class Result By Roll Number
Dg Khan Board 8th Class Result 2019
8th Class Result 2019 Faisalabad Board
8th Class Result 2019 Bahawalpur Board Online
5th Class Result 2019 Sargodha Board By Name
8th Class Result 2019 Gujranwala Board
PEC 5th Class Result 2019
8th Class Result 2019 Roll Number Wise
coc hacked version apk
clash of clans download mod apk
free download clash server
clash of clans mod apk
clash of clans mod apk download latest version
clash of lights download apk
Clash of CLans Mod APK.
Clash of Magic
Clash of Magic S1
Clash of Magic S2
.
Shipex usa
Clash of Magic Apk
Clash of Magic Apk Download
freedom apk 2019
freedom apk no root
quad biking dubai
Satta King
Satta King
Satta King
Satta King
Satta King 2019
Satta King
Satta King 2019
Satta King 786
Read More
All University BA First Year Result Check here
BA 2nd Year All University Result Name Wise
BA Part 3 Result All University
bcom 3rd year result
Faridabad Satta King
Ghaziabad Satta King
Gali Satta King
Desawar Satta King
10th result 2019
Vielen Dank für das Teilen dieser großartigen Informationen. Wenn Sie online einkaufen möchten, sollten Sie hier besuchen:
ledertasche herren
leder laptoptasche
satta king
BCom part 1 Result
gbwhatsapp whats opp
offers outstanding cheap dissertation help for students all over the world! ☆ Find out why we are one of the top thesis writing.
Thanks for sharing this information with us. Download Free Xmod and information.
.
Full Day Jaipur Private City Tour
Read Complete Aatish E Ishq By Farwa Azam
TajMahal Tour
hp university ug result
For Satta Result
Satta Result Company
Satta King Matka Result
Nice Update
result of b.a part 1
thanks for sharing the article
Www.boattourdubai.com/yachtcharterdubai.php
boat tour dubai
I m Really looking forward to read more. Your site is very helpful for us .. This is one of the awesome post i got the best information through your site and Visit also this site
Satta King
Really many thanks
PicsArt Hack APK download
best rice Cooker
Norton Antivirus Customer Service Number
Norton Antivirus Customer Service Number
bitdefender helpline phone number
bitdefender tech support phone number
technical support for yahoo mail phone number
https://zvv4.com
Honeymoon tour packaes
Nepal Tour Packages
Famaily tour packages
National park tour packages
North east india tour packages
Lord Buddha Tour packages
International Tour Packages
Himalaya tour packages
Rugby World Cup 2019 Live Online
Wales' rise to the summit, which ended New Zealand's unbroken 10-year occupation, comes just 34 days before the World Cup kicks off in Japan.
It was an impressive warm-up performance for the tournament as they reeled off an 11th successive home win, with George North's first-half try ultimately proving the difference as Wales took full advantage of Anthony Watson's yellow card to make the most of England's lapse in concentration to score.
12 Class Result 2019
Bise Lahore Board 12th Class Result 2019
Bise rawalpindi Board 12th Class Result 2019
Bise gujranwala Board 12th Class Result 2019
Bise bahawalpur Board 12th Class Result 2019
Bise faisalabad Board 12th Class Result 2019
Bise sahiwal Board 12th Class Result 2019
Bise multan Board 12th Class Result 2019
Bise sargodha Board 12th Class Result 2019
Bise DG Khan Board 12th Class Result 2019
best water heater
DAVV BA 1st Year Result
DAVV BA 2nd Year Result
DAVV BA 3rd Year Result